I'm discovering that there's a trick to cutting out fabric. A trick I have yet to learn. Or, well, I learned it, but only after I cut out the fabric for my second drawstring bag. Here it is: Measure out what you need. Say, 17" length. When you've measured out your 17", put your ruler down so that it covers the part of the fabric you want to use. This leaves the waste fabric uncovered by the ruler, so if your rotary cutter doesn't stay as close to the ruler as you want, you're not messing up the good fabric, you're messing up what would have been scrap anyway.
 |
| photo by designsbykari via Flickr, modified by me |
Anyway. I cut out the fabric for bag #2, badly because of the rotary cutter thing and also because I didn't pay much attention to the numbers on my mat and therefore cut everything 1" shorter than I ought to have. This made an accidentally sized-down pattern, but since it was a bag, it did not matter.
When my pieces were cut out, I sat down at the machine (which Mum had fixed in about five seconds). And then I began to sew.
I quickly discovered that there is a right direction to put pins in fabric and a wrong direction to put pins in fabric. The wrong direction is when the head of the pin is facing the machine and not you. Why is that wrong? Because if the pin is facing the sewing machine, and you sew up to the pin, you'll have a heck of a time removing the pin without first lifting the needle and the foot. Also you stab yourself. But you would have done that anyway. I certainly did.
It's also important to not remove the pins too soon. And to make sure you're smoothing the fabric so that it doesn't bunch. And that you make sure you're sewing in a straight line by guiding your fabric as it goes into the machine.
Do you want to guess how many of those things I actually did?
Another important tip: Did you know that you can turn a sharp corner without stopping, lifting the needle and foot, rotating the project, lowering the foot and needle again, and then continuing? You CAN. All you have to do is lift the FOOT and leave the needle in place. That gives you a SHARP corner.*
And if you're me, and you decide you can make a curve instead of a corner, it is a good idea to plot out the curve and go slowly so you have two curved edges that are the same. Otherwise, you have a Franken-bag, and it is asymmetrical and bizarre. But that's fine.
When I was finished sewing the edges and making the French seams, I sewed around the top edge. I tried to do this in a continuous line. That did not work so well. The back-stitched part of that edge looks more like a "z" than a line. I am calling this an artistic choice.
I finished the first bag and then went back to the one I'd hand-sewed. I then stitched over everything with the machine so I could have more practice with the machine.
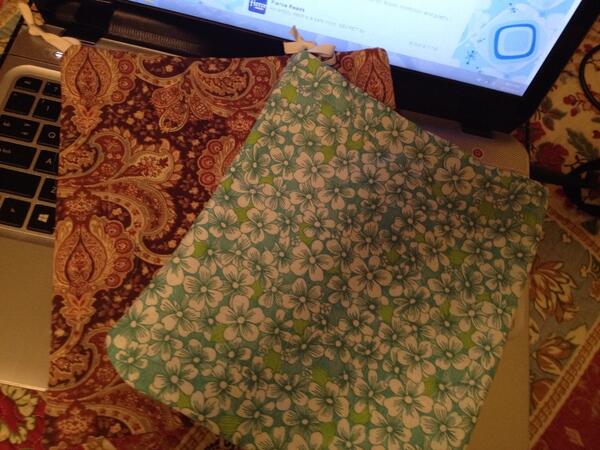
Here is a sucky picture of both bags. And my laptop. This is visual evidence that bags were sewn.
My next project is an apron. The pieces have been cut (with help, so they're the proper size and shape), and sewing will commence soon. If I'm lucky, the apron will look like an apron and be usable. That's all I can hope for at this point.
* By "sharp" I mean you find a way to accidentally stab yourself with a straight pin again. Because you will.
No comments:
Post a Comment