 |
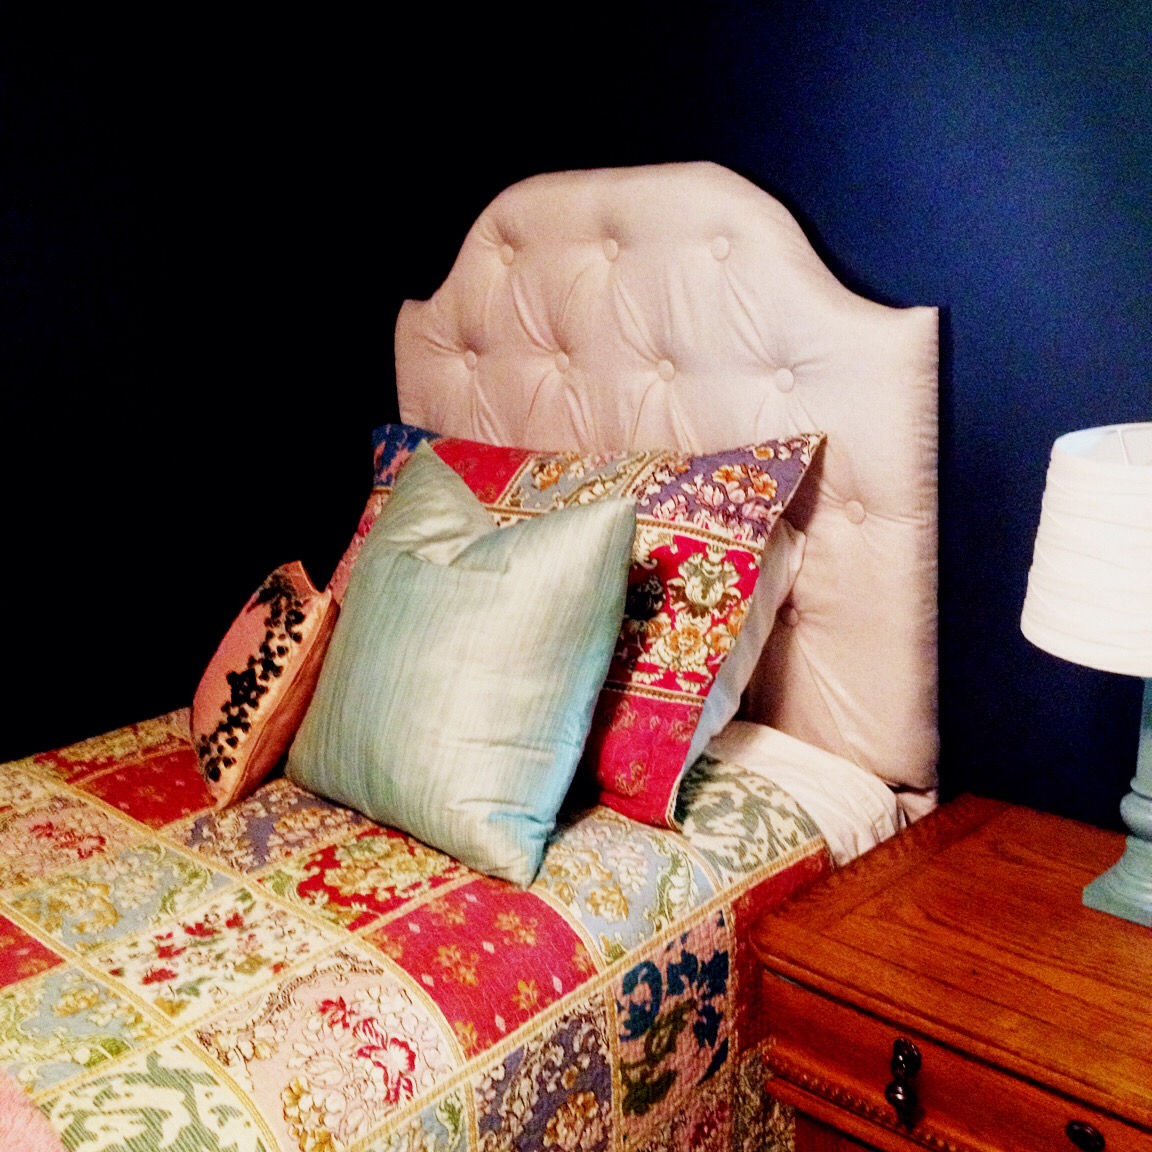
| Operation Headboard victory picture. |
I've been intending to work on this for ages, but I've been held back by the lack of actual tools at our house. I needed a jigsaw or a scroll saw or some other kind of saw to help me cut a shape out of a board. I was bemoaning the lack of equipment at work one afternoon and my coworker volunteered her husband to help me out. Naturally, I sprang at the chance to get the board cut. I brought it in the next day and by that afternoon, I had my piece of plywood cut to the right shape.
I spent that Friday getting fabric samples. I ended up with three options, but I didn't want to purchase before my new carpet came. I thought it would be too easy to pick the color that went best with the walls or with the quilt on the bed and end up with something that didn't work with the carpet. Some of you might remember that I'd already bought fabric for the headboard...well, it didn't work anymore. I had picked it out before I painted the room a different color, before I picked out carpet, and before I'd changed the curtains. The new room did NOT work with the brown fabric. I needed a natural, off-white fabric or possibly a grey. Brown wasn't going to cut it. That fabric will have to be used differently somehow in the future.
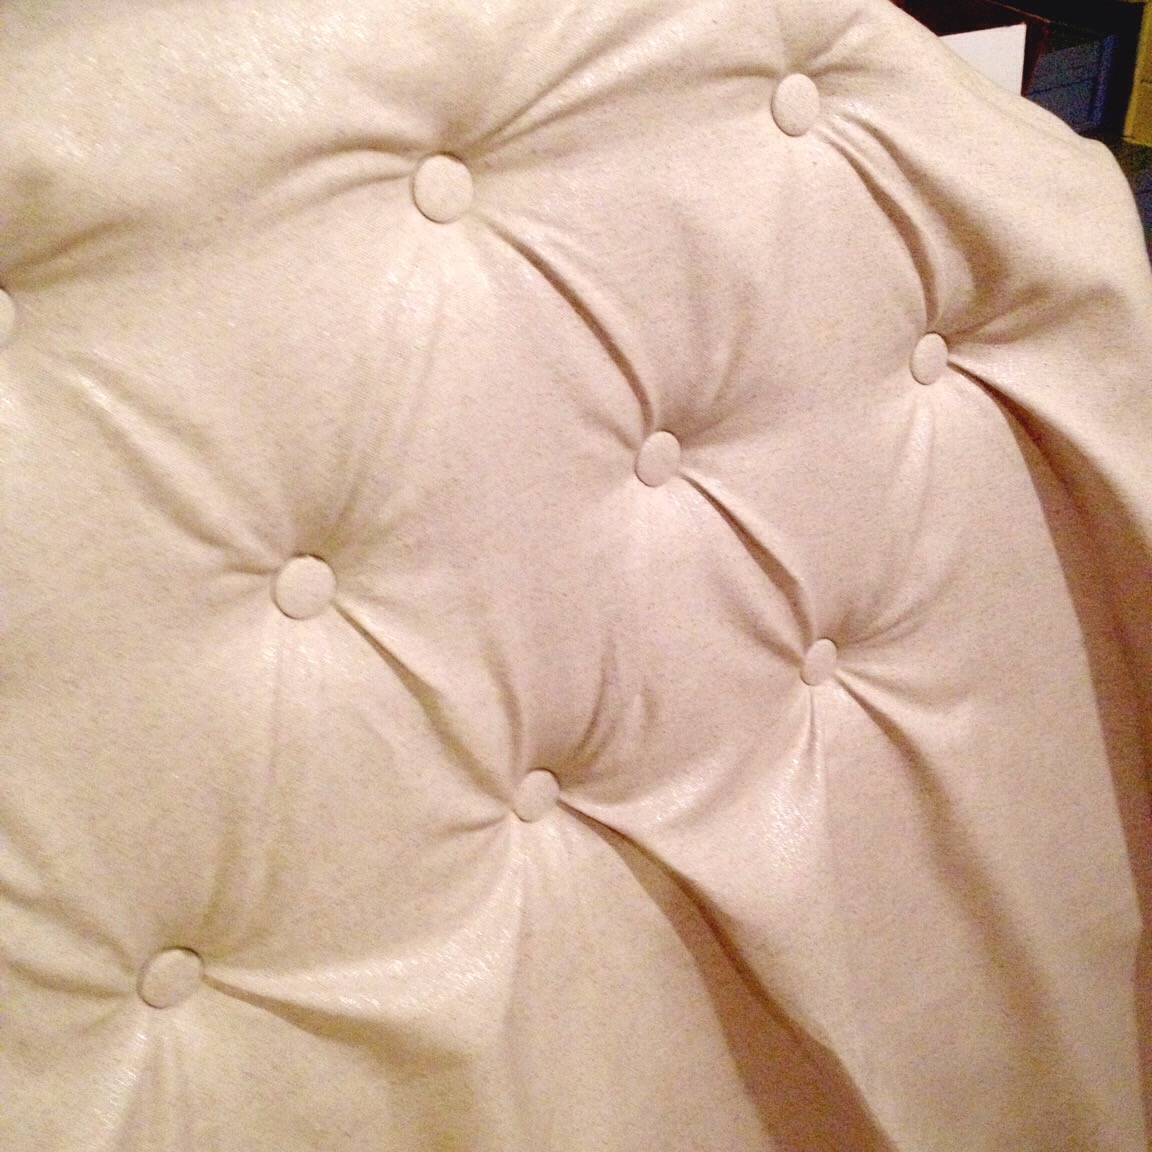
I waited for the carpet to arrive and settled on an off-white fabric with random metallic threads woven through it. They aren't noticeable from far away, but up close, they give it a sort of sheen I like. I bought the fabric and added it to the stack of other stuff I have ready for headboard construction.
Holy crap, folks. The math. I had no idea that math would be a thing. It was geometry gone mad. But I got it done. It doesn't even suck! Everything is even and nice and measured well, and it looks like someone not-me did it. This was the tutorial I found that helped with the mathing, because they said the word "diagonal" and suddenly everything made sense.
I drilled some holes for buttons, and only hurt myself a little bit! Splinters. They suck.

Then I cut my foam to the shape of the headboard. It was thrilling. I used spray adhesive to keep it from moving around. The fumes are noxious, so if you use it, spray it outside so you don't die horribly. You have to DRENCH the surface in spray adhesive and then sit on the foam for a while to make sure it sticks. Our entire basement floor became sticky, but it dries eventually. Just never use this stuff on a surface you don't want to permanently coat in spray adhesive...


I used a wicked tool to carve out a dent where the drill holes were, so the buttons could happily nestle inside them and make my life easier later.

The foam then got covered with batting and stapled in place.

I am sure there is some logical way or method to trimming fabric to go around curved pieces of wood. I said, forget learning that, I can Science. No folds, perfect edge, see? Science.

Then I covered buttons with my fabric. I'm pretty relieved that now the headboard is finished, you can't even tell that the button covering kit I picked up at Hobby Lobby was a piece of crap. Listen. I hate Hobby Lobby. They were the only craft store option in the area and ordering online would have set back Operation Headboard another week. So I gritted my teeth and went inside.

Hobby Lobby only sells Sewology products. Needles, button covering kits, thimbles...all of it is Sewology. There is no other option. If Sewology did not SUCK. this wouldn't matter so much. But it DOES suck. It sucks big time. It professionally sucks. Instead of plastic and metal, it is built in the factory out of suck.
To cover a button, you cut a circle using the (too big) pattern on the button blank package. Then you put the fabric face down over the silicone (white) piece, press the button front piece down into the silicone, stretching the fabric around it. Then you fold in the excess fabric, lay the metal button back on top, then use the blue plastic piece to easily (hysterical laughter) press it into the button front.
Sewology's kit makes this IMPOSSIBLE. The back will not press into the front using the kit pieces provided, unless you do what I did, which was place a hot pad over the blue piece and use a hammer to pound the button back into the front. This eventually (I know you're shocked) crushed the blue plastic piece beyond use.
This turned out to be not such a big deal, because, while I purchased 15 button blanks, I only got 12 backs in my SEALED kits from Sewology. It was a good thing I only needed 12 buttons. I'll have to buy more blanks--from a different company AND a different store--if I ever need an additional button.
See? Look at how cute. Aren't they cute?

Then we were ready for fabric and button threading.
And lots of stapling. This was not entertaining, folks.
The headboard could either be propped against the wall (nope), hung on the wall (maybe) or mounted on the bed frame (umm?). I went to the hardware store and asked them. They told me my best bet was something called a French cleat.

So, on Sunday, I finished the whole project by hanging the headboard on the wall. And here we are!

This process was not as hideous as I thought it would be, but I'm still glad I put it off for two years. Imagine if I'd finished the room and found my headboard didn't work in the space anymore! Now I can use this forever. Or at least until I move and get a different bed, whenever that happens. But when that day comes, Mum can have a headboard to use with that room for as long as she likes. I call that a victory.

No comments:
Post a Comment